We Sell Barrier

What Should You Install in a Car Park? Armco Barriers vs Bollards

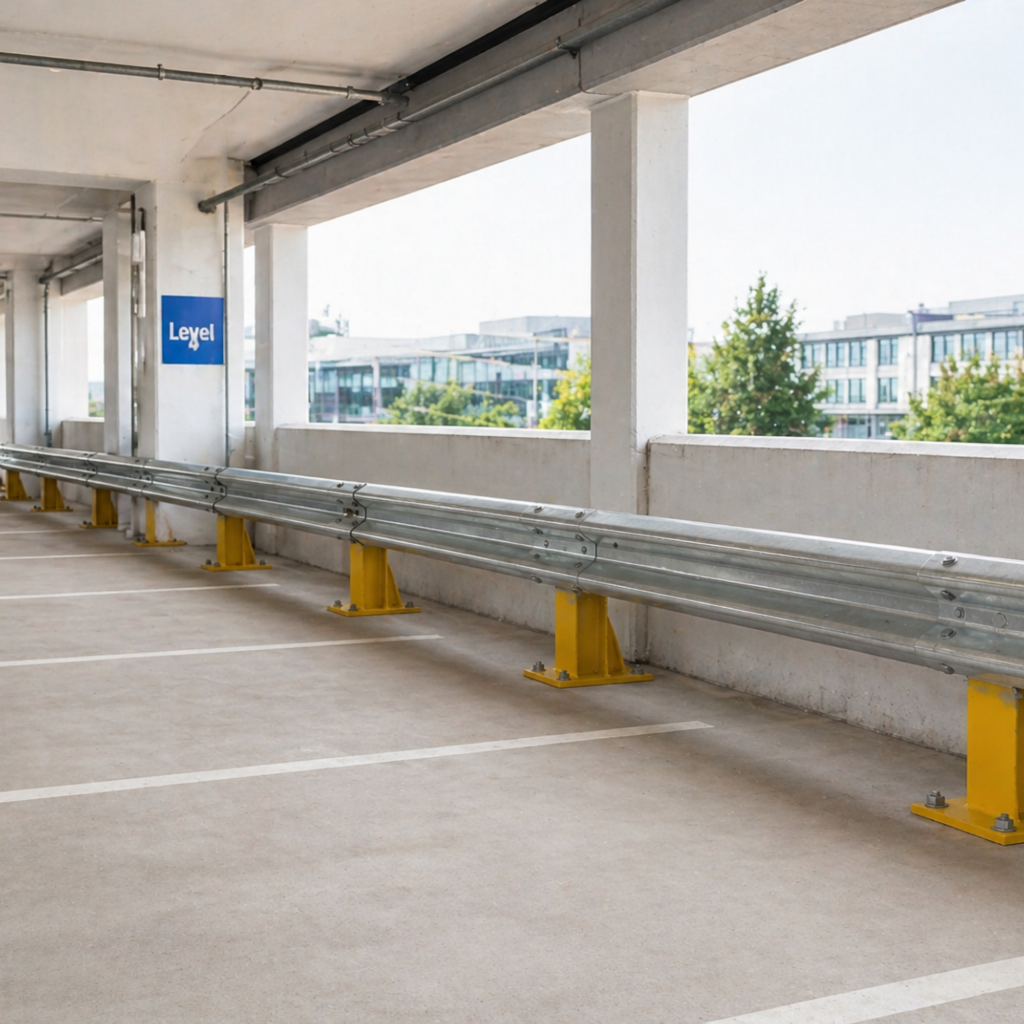
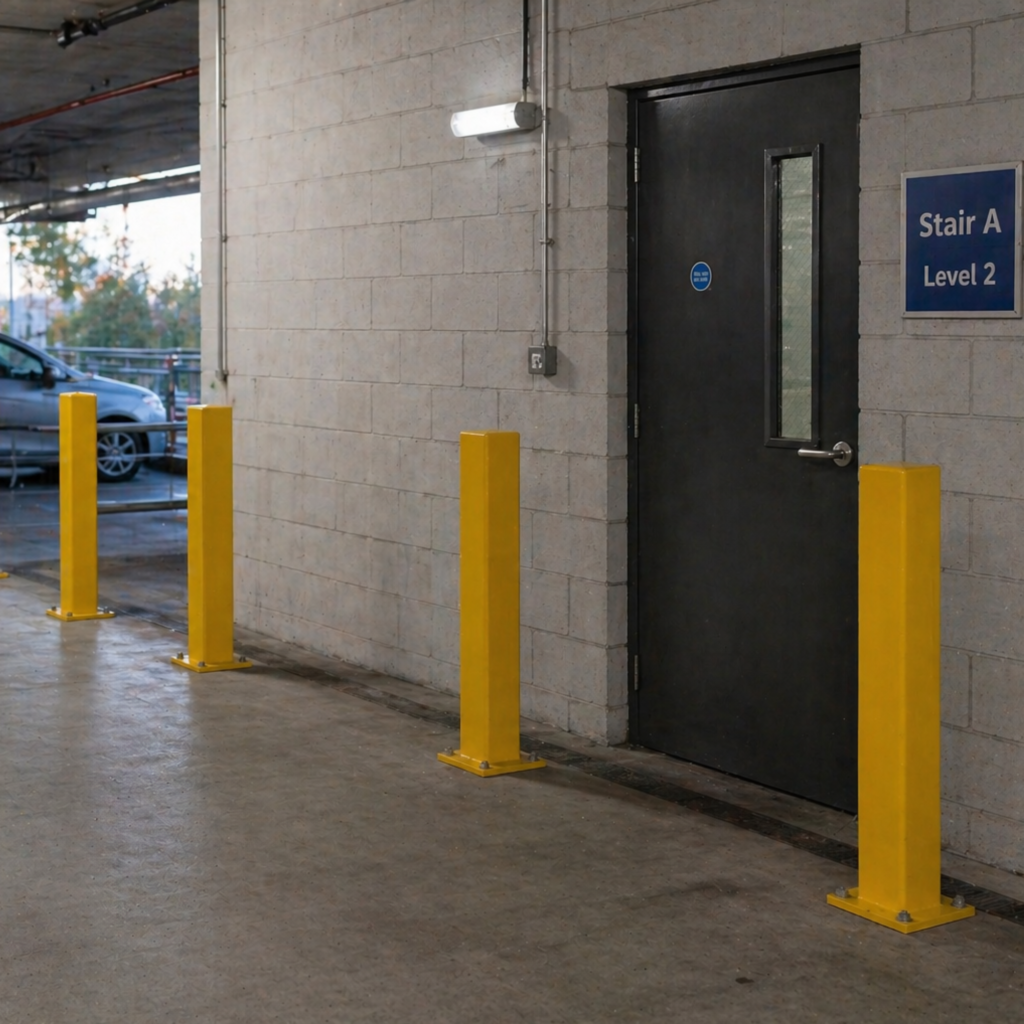
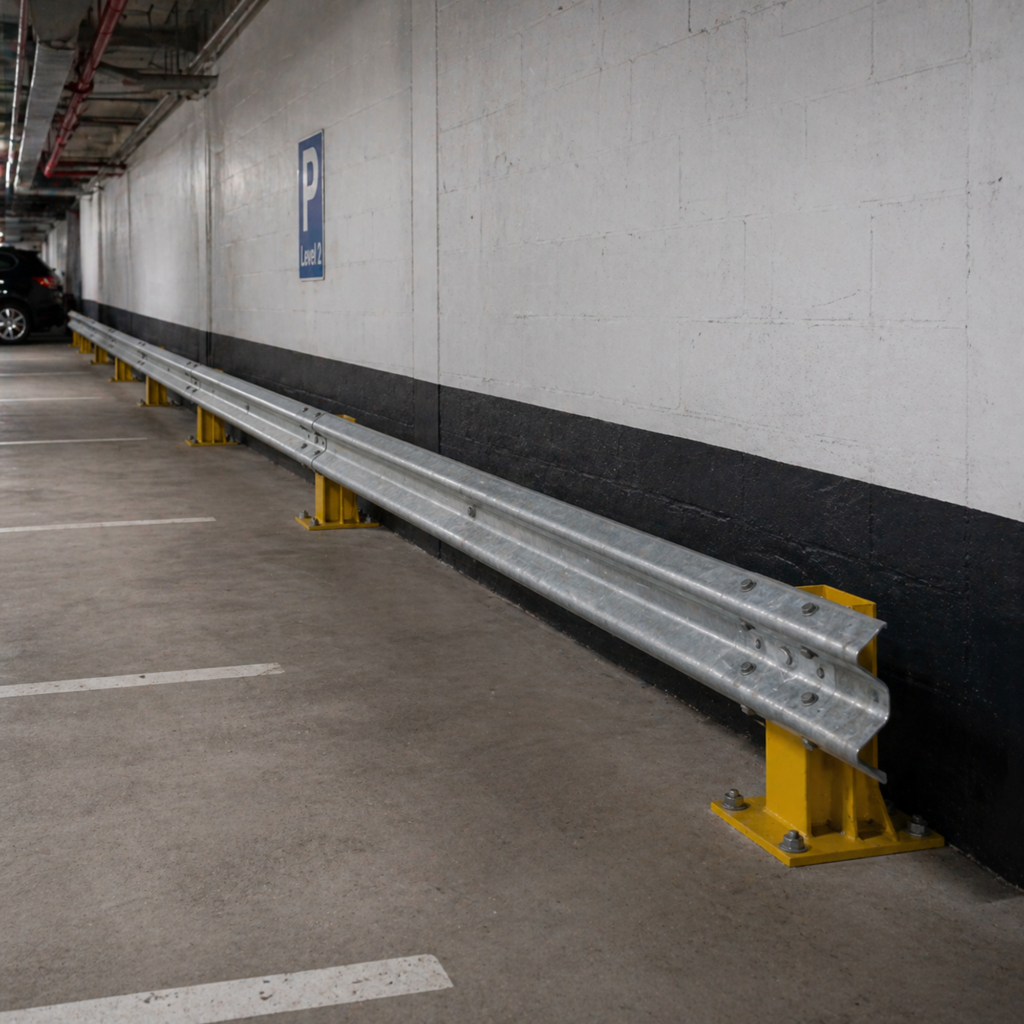
Car parks are one of the most common areas for vehicle damage, collisions, and safety risks. Whether it’s reversing cars, tight spaces, or poor visibility, without proper protection, buildings, equipment, and pedestrians are constantly exposed to impact.

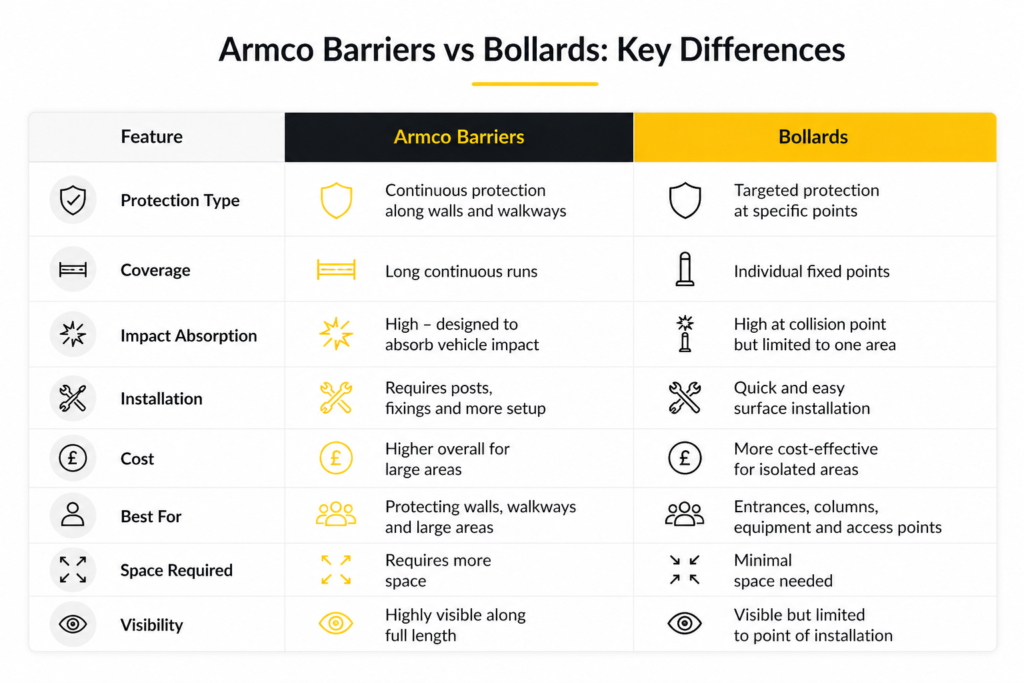
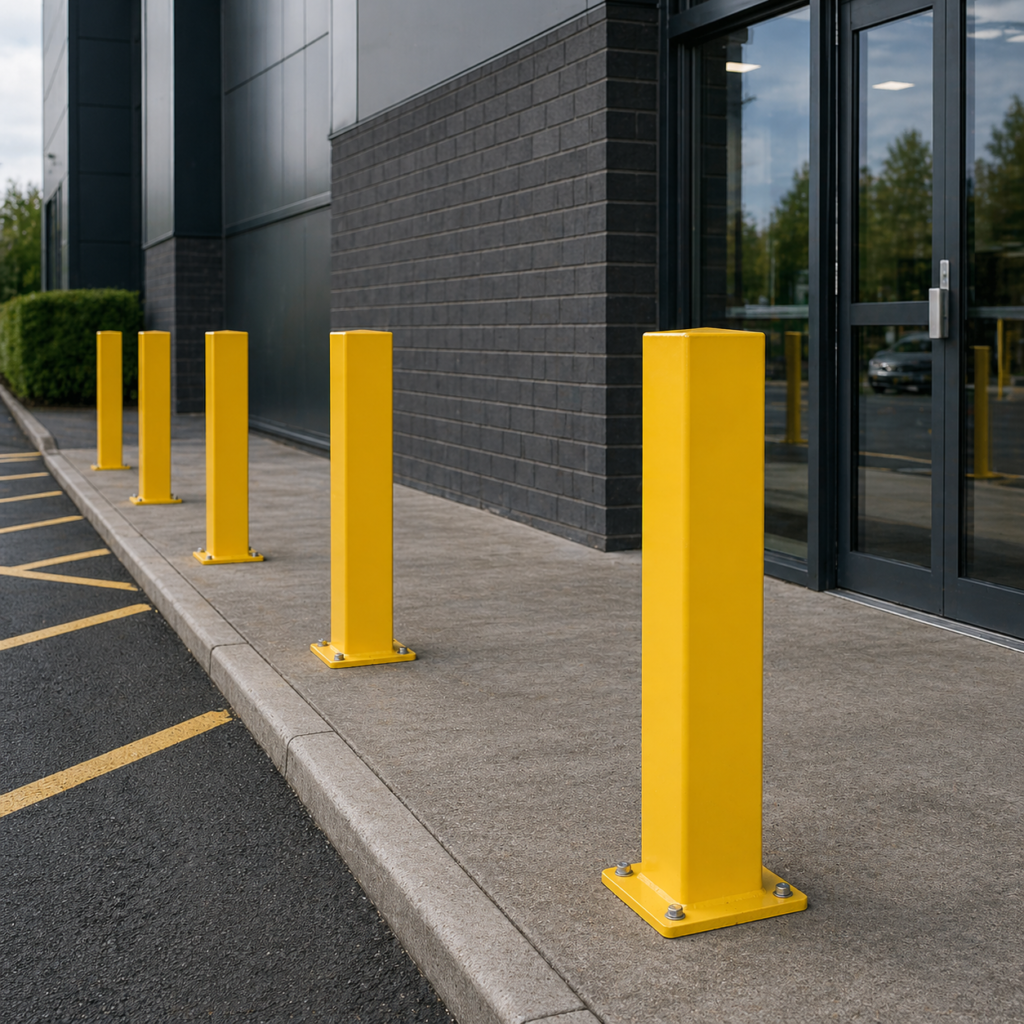
Choosing the right safety solution is essential — and in most cases, this comes down to Armco barriers, bollards, or a combination of both.

Armco Barriers Vs Bollards Key Difference

Why Car Parks Need Protection

Car parks present several risks:

  • Vehicles reversing into walls or structures
  • Cars clipping corners and columns
  • Damage to storefronts and entrances
  • Pedestrians walking near moving vehicles

Installing the right safety system helps reduce damage, improve traffic flow, and create a safer environment.

Armco Barrier in a car park
Bollards in a car park
Armco Barrier In a car park


Option 1: Armco Barriers for Continuous Protection

Armco barriers provide continuous protection along walls, walkways, and high-risk areas.

They are ideal for:

  • Protecting building perimeters
  • Shielding walls and infrastructure
  • Separating vehicles from pedestrian zones
  • Guiding traffic flow

Typical setups include:

These barrier rails are supported using:

Armco barriers are best used where continuous protection is needed across larger areas.

Armco Barrier Car Park
Square bollards in a car park

Option 2: Bollards for Targeted Protection

Bollards provide focused protection at key impact points.

They are commonly used for:

  • Protecting entrances and doorways
  • Securing columns and structural points
  • Preventing vehicle access
  • Shielding equipment or payment machines


Typical options include:


Bollards are best used where space is limited or protection is needed at specific points.

Best Setup: Use Both Together

In most car parks, the most effective solution is a combination of both systems.

A typical setup includes:

  • Armco barriers along walls using 1.6m or 3.2m barrier rails
  • Bollards protecting entrances and structural points
  • Additional protection at high-risk areas


To plan your barrier layout accurately, you can use:


These tools help determine the correct number of rails, posts, and fixings required.

Need Help Choosing the Right Setup?

If you’re unsure which post type is best for your site, it’s worth considering factors like traffic levels, layout, and risk areas before making a decision.

Choosing correctly from the start will save time, reduce costs, and improve safety across your site. Also feel free to drop us a call on the number 01752 710100

CTA Bottom Section
0
    0
    Your Cart
    Your cart is emptyReturn to Shop